Some of you may know me from my paintings. I used to keep up more of an blog face for Messina Studio, but have lately kept it to facebook updates and a website. I don't think I really enjoyed blogging about the painting side of art because most of the process is done behind closed doors between me and the painting, and without a video camera, it's hard to really ever get into it on a blog. I'm also not one to speak for any great length about a painting, or art for that matter. I've always been pretty blunt and to the point. I like it - I don't like it - I really like it - I like this color they used - etc. But I'm not going to go on and on and write lengthy blog posts about it.
So you may be wondering what I'm doing here then? Well, I have found a new interest, and since I just started a week ago, you're not too late in joining me for the ride. I am doing a painting series on masked figures, called Veiled Intentions, and in doing so I spent a lot of time looking around on Etsy at different types of masks. I realized that the ones I really fancied were ones that I could never afford to buy in the $400-1000 range and so a thought dawned on me. What if I tried making my own?
Mask Making
I did...a lot of research..and I mean a lot! Here are just a handful of the links I've accumulated. Check them out for yourself if you're interested as I won't cover everything in this post.
Mask Making Ideas and Instruction
Different Papier Mache Methods (Pulp, Paper Strip, etc)
More About Making a Plaster Mask (Plaster Masks are good templates)
Papier Mache Resource (Has lots of great info- search the forums)
The Goblin King
The first mask that I wanted to try was based on the one that Jareth (David Bowie's character) wore at the masquerade in the movie The Labyrinth.
 |
| The Goblin King |
I decided to go with making a plaster cast of my face to build on. Once I had the basic shape of the mask, I let it dry and had no problem taking it off of my face. I realized pretty quickly that I wouldn't be able to get the shape I wanted with the plaster wrap alone. Then it was time to start doing some research on what to sculpt with. I told you there was a lot of homework involved! There are a lot of choices which is good but also makes the task arduous (I know..what kind of person uses a word like that on a blog..lol).
I decided I wanted to use a sort of paper pulp or paper clay to sculpt with but I couldn't find what I needed at Michaels (local craft store) and ended up getting Celluclay. This ended up not being such a horrible thing - Celluclay only needs some warm water added to it and it's very easy to sculpt with. I'll get more into this later. Here are some of my early pictures of the mask.
 |
| The first basic shape and layout of the mask. |

To add the ridges to the horns, I used para-cord paired with a glue gun and then used plaster wrap and celluclay accordingly to shape it up. I also had to fill in some of those lumps with more celluclay. I also added some little flaps off the side of the mask. This can be done easily by mixing card stock and plaster wrap together.

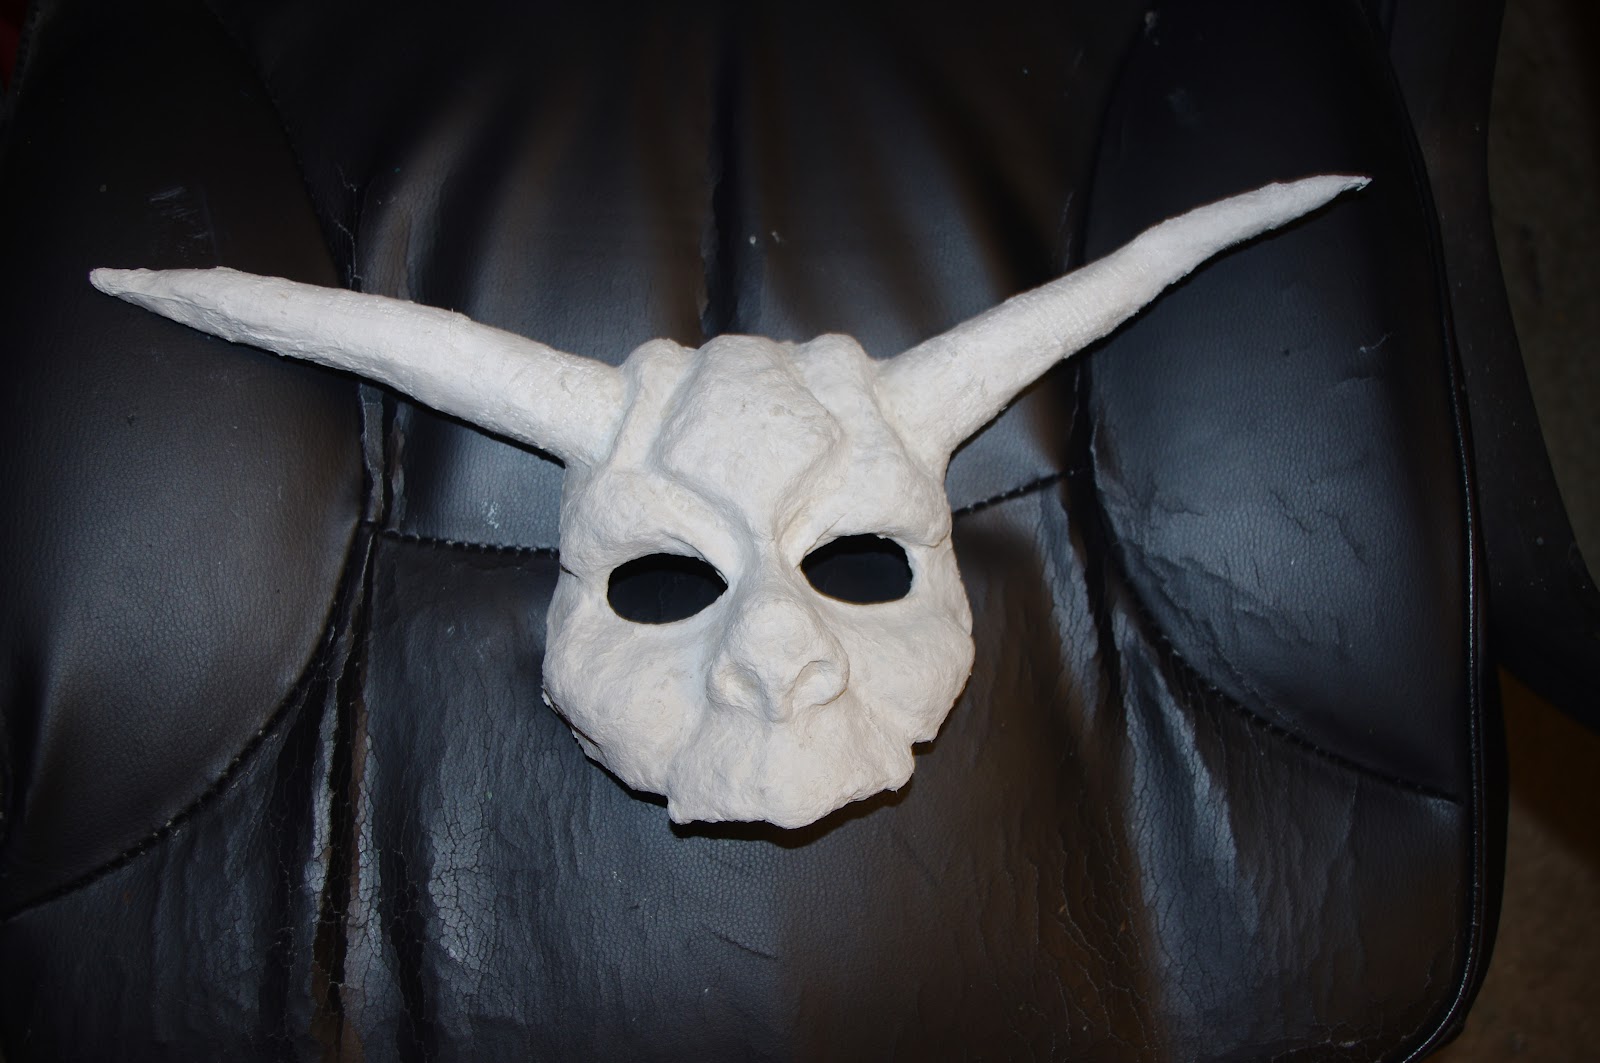
Finally! It's starting to look a lot better! This was taken after I had sanded down the last layer of celluclay and added a full layer of gesso to the whole front of the mask. Some people suggest using a mix of string gel and modeling paste, but I know I can sand gesso as well, and until it's smooth enough that I think I won't want to sand it anymore, I won't use that mixture.
Since I didn't shape the mask perfectly the first time I did it, I've had to go back with a Dremel (hand tool) and drill/sand off the edges underneath the nose. Wouldn't you know that the battery died on the Dremel and I can't find the battery charger anywhere! They are also not available for sale anywhere unless you want to pay $50 on Ebay which really sucks. I will have to find another way to get it shaped the way I'd like - maybe just a lot of sanding.
After this whole experience, I found that I REALLY enjoy making masks! I think the most rewarding experience is working with my hands and creating something out of nothing. It's an amazing feeling and I think I'll be sticking with it! Keep an eye out for Part 2 of this post where I'll show the finished mask and painting it to look like tarnished bronze.
Thanks for Reading and Happy Creating!
Please share this post if you like it and follow me on my Facebook page - Marie Messina Art - where you can see updates on both my paintings and my masks.
No comments:
Post a Comment